Our Product Portfolio
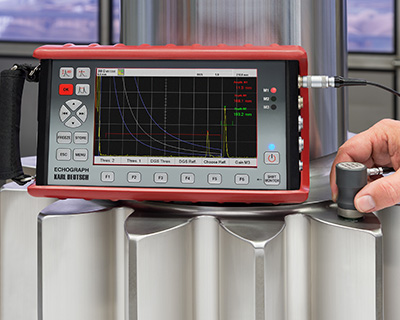
The ECHOGRAPH ultrasonic flaw detectors are suitable for the inspection of steel, cast iron, non-ferrous metal, porcelain, plastic and other materials capable of conducting sound. Seaching for defects such as blowholes, inclusions, segregations or binding defects. For example, weld seams, castings, pipes, billets, rods and sheets are inspected.
The examination principle of our ECHOGRAPH ultrasonic testing systems is identical to that of the handheld units. However, ultrasonic testing with systems is automated with the help of multi-channel electronics. The advantages are faster, more reliable and more objective testing as well as integration into existing production lines.
The portable phased array units GEKKO and MANTIS are two models suitable to cover all possible inspection tasks. A total of 12 different versions provides a taylored configuration for every application. The intuitive “Capture” user software has numerous evaluation and analysis tools and is also available as a PC version.
The fast test electronics, controlled by an industrial PC, is completely self-sufficient and uses the customizable ECHOVIEW software to generate strip charts, C-scans, tables and statistics. However, experienced integrators can also use their own data software and use the ECHOGRAPH 1170 electronics as an OEM module.
In order to achieve an optimal result with our inspection instruments and systems, we have continuously developed the ECHOGRAPH ultrasonic probes over the past years and thus optimally adapted them to the respective inspection. There is a suitable probe for every application.
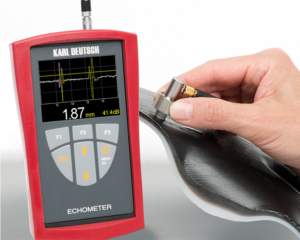
The ECHOMETER wall thickness gauges enable precise determination of measured values for all materials capable of conducting sound. If the wall thickness is known, the sound velocity of a workpiece can be determined. This is a proven method for the qualitative evaluation of cast materials.
The ECHOMETER 1076 K is a gauge for determining the concentration of a liquid by measuring its sound velocity for a given sound path in the liquid. The physical relationship between the two values is described in a designated calibration curve. This allows the concentration to be determined.
The ScanMaster models UT/MATE, UT/PRO and UT/X are three systems specially developed for the inspection of spot welds, each with a different focus: from the proven, conventional ultrasonic inspection as a cost-effective solution to the phased array solution for highly demanding inspection tasks.
Our LEPTOSKOP handheld devices are available with an internal probe, but also with external probes for hard-to-access places. Numerous statistics can be generated and displayed with the measured values. The gauges provide a data interface for convenient processing of the results on a PC.
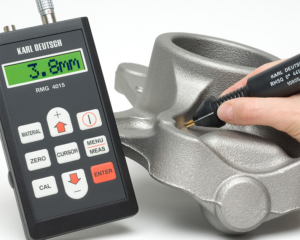
The crack depth meter RMG 4015 measures crack depths on workpieces made of steel, iron and austenite and can also be used for cracks on copper, brass and aluminium and most non-ferrous metals. A special probe is available for measuring angled cracks.
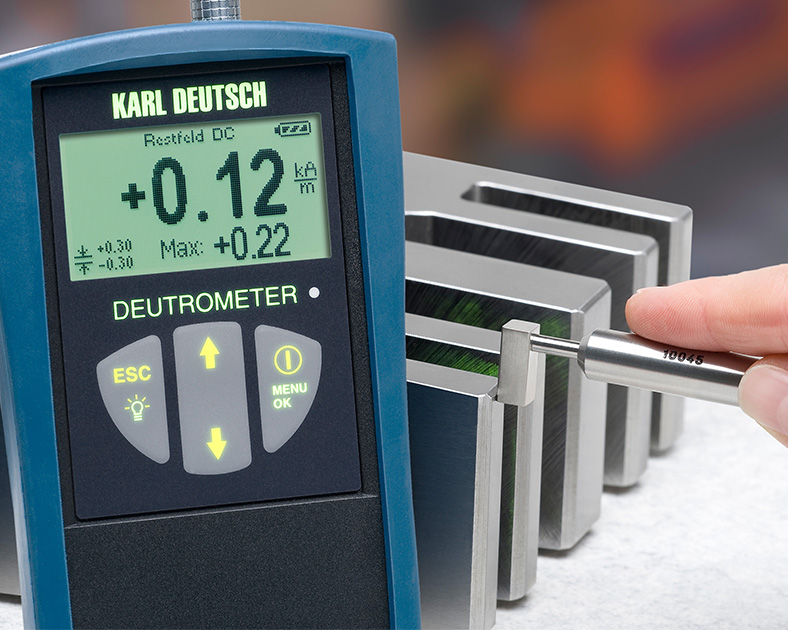
The DEUTROMETER 3873 has been optimised step by step in recent years. In doing this, the focus was particularly on improving the simple measurement of low-frequency magnetic direct and alternating fields. Numerous customer requests and suggestions were taken into account during development.
Our DEUTROFLUX and DEUTROMAT testing machines provide solutions for magnetic particle crack detection of cast components with a clamping length of up to 1100 mm. Under the DEUTROMAT brand, we also build customised systems, e.g. with several magnetising units for testing complex-shaped components.
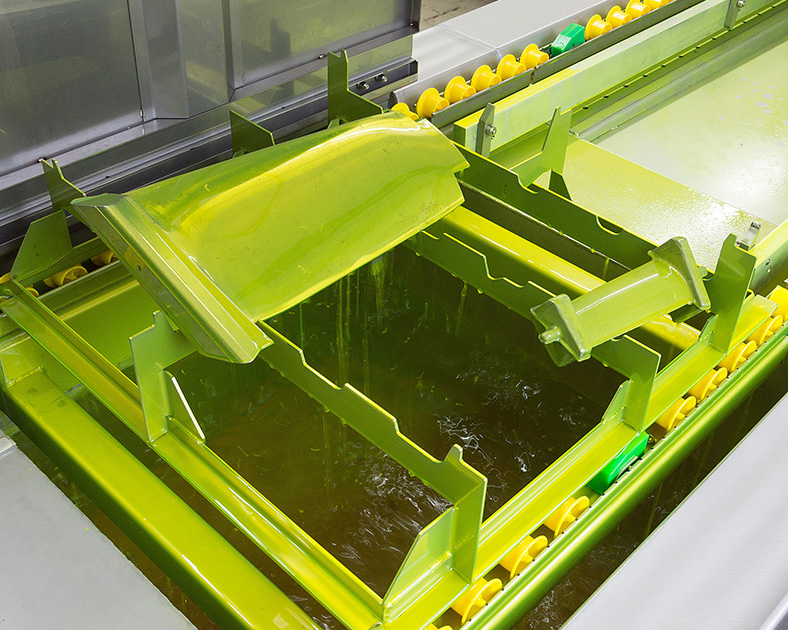
Our KD-CHECK stations and systems focus on penetrant testing of small and medium-sized parts. This is done either semi- or fully automatically. The test procedure comprises the process steps pre-cleaning, penetration, intermediate cleaning, drying, developing and evaluation.
Our chemical products are characterised by special environmental compatibility and user-friendliness. Coupling agents or chemical testing agents: For magnetic particle crack detection and penetrant testing, we can offer our customers a broad portfolio from a single source.
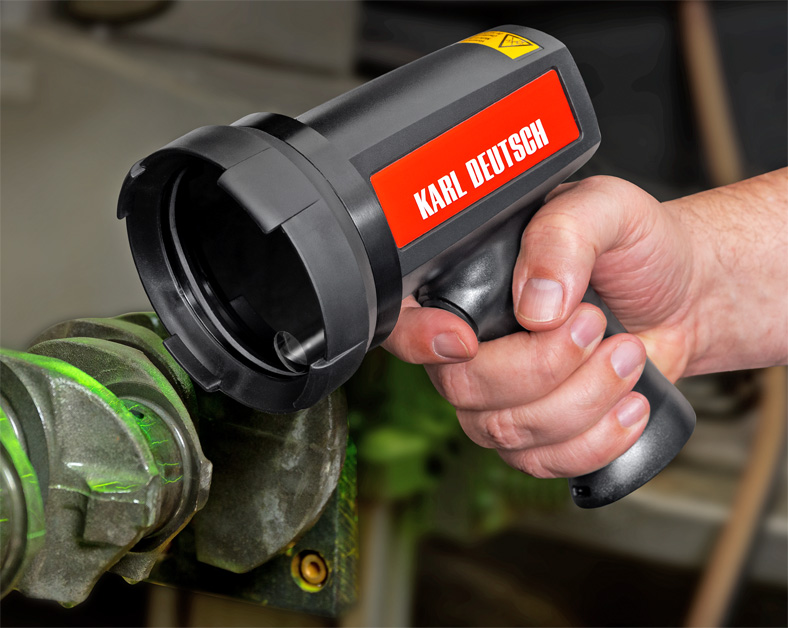
Fluorescent inspection equipment provides the highest-contrast crack indications. They are made visible by our UV-LED lamps. The lamps are also available with certifications according to ASTM E3022-15, Airbus AITM6-1001 and Rolls-Royce RRES 90061.
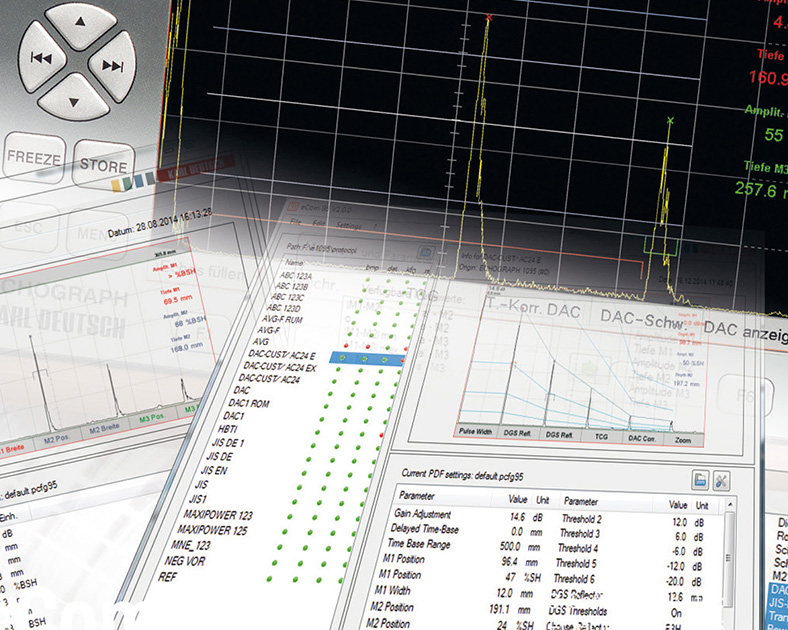
This item leads to the lineup of current instruments and systems software. Whether data management of our handheld devices (ICOM) or data transfer (EASYEXPORT) or sophisticated evaluation of the results and/or set-up by a PC: The data can be easily evaluated and processed via an intuitive interface.

